Thursday, 11 December 2014

Experimentation Garment Construction using Displacement Pattern Cutting

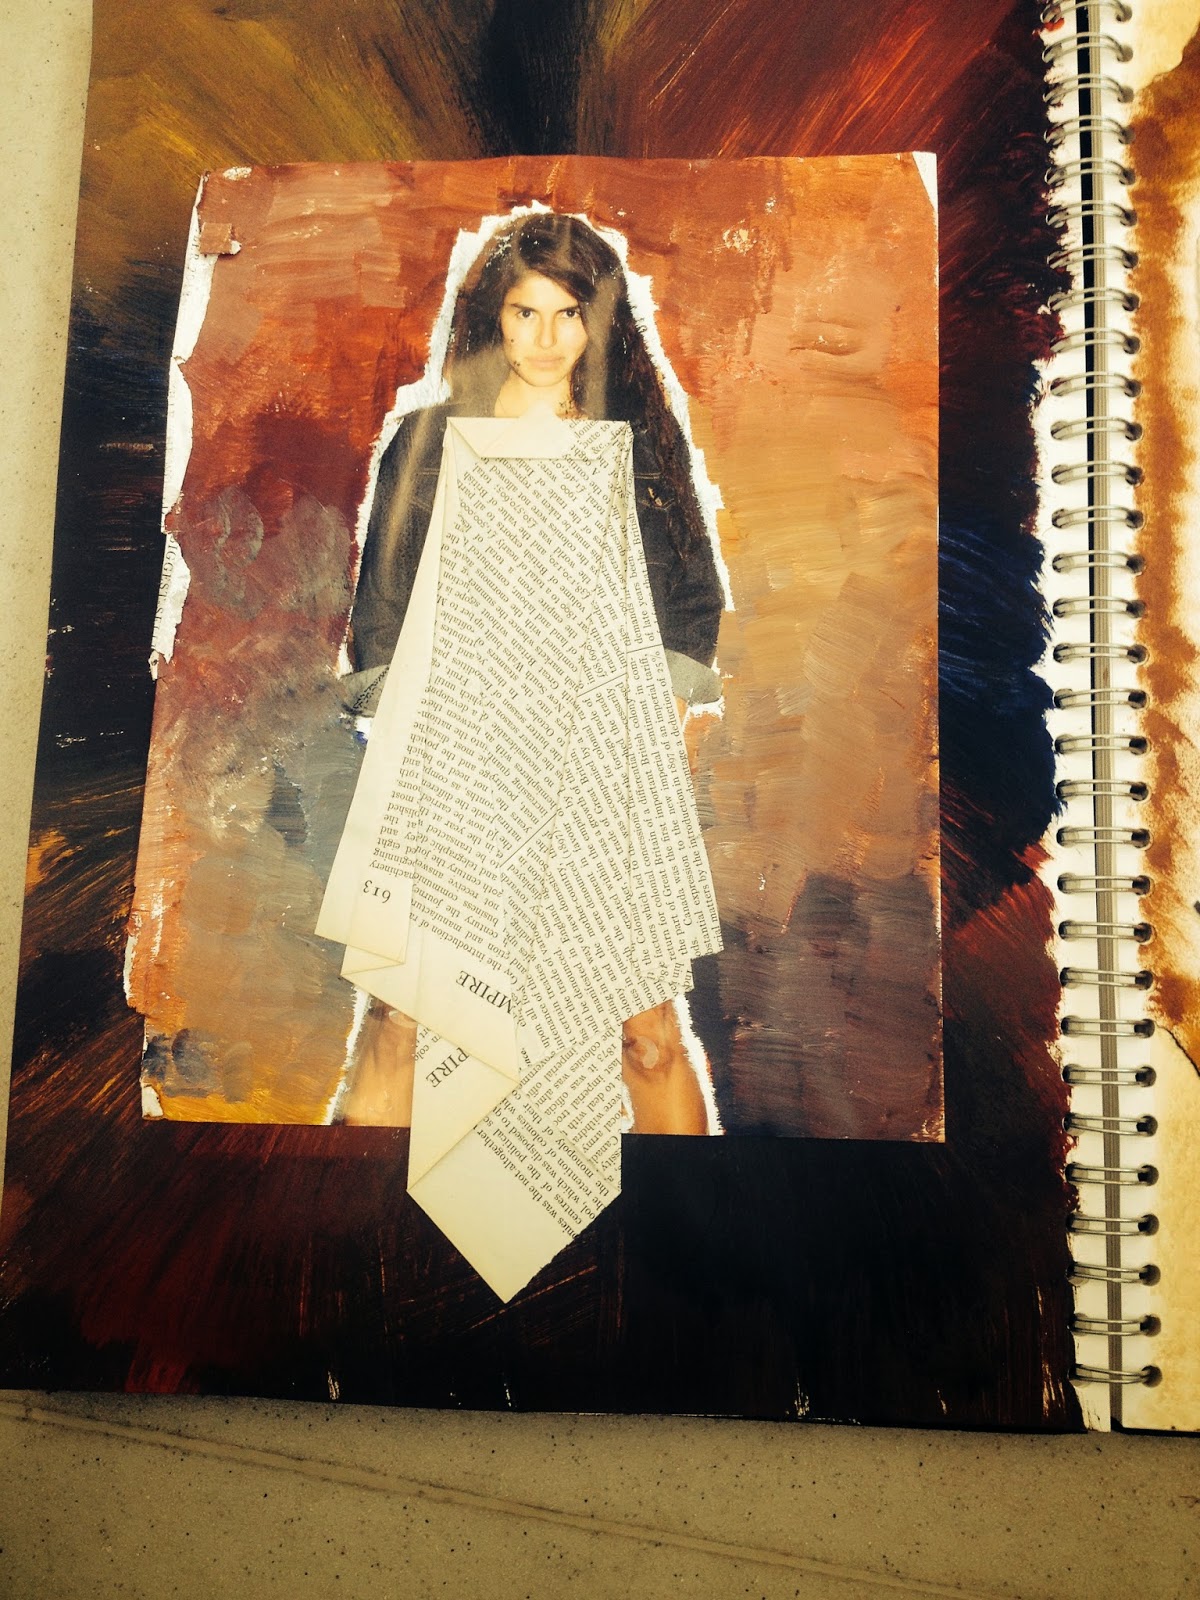
In Julien Robert's Subtraction Cutting guide he demostrates different techniques to produce garments. Using the pattern cutting technique called displacement I have created the experimental garment shown below.
 

After drafting a basic bodice, front and back, the pattern is drawn onto the fabric connecting the bottom seams together, cut and sewn to make an asymmetric dress. The construction method is rather simple and drape achieved through this technique creates interesting shapes without being very time consuming. 

The irregular shape created by the displacement technique reminds me of Comme des Garçons' designs.

Very little of the actual material used is wasted compared to a more traditional pattern cutting technique how ever after completing the sample garment it is clear that much more fabric would be needed to produce a final garment.


This approach to garment construction is a contrast to my pervious work by the relaxed style and shape. 

To try and contain a little more structural shape to the dress I decided to add diamond darts to the front.

However I dislike the the final outcome because I feel that the garment doesn't flow as nicely and has lost appeal by the addition of the darts with the loss of the natural unstructured drape. 

For future designs I could potentially bring in elements of subtraction cutting to give my designs a unique edge but with the amount of fabric needed to create a full finished dress is not feasible and personally I would prefer a little more of a tailored shaped.


Tuesday, 9 December 2014

Tutor feedback - Sally Taylor

Today I had a chat with Sally Taylor a fine art, drawing and contextual studies tutor about my work how my ideas had developed to my concept and how the links to my research.

After seeing my deconstructed suit I explained how I wanted to combine the traditional techniques of tailoring with the rather new pattern cutting method of subtraction cutting. Sally suggest that mixing the two contrasting pattern cutting ideas might not make a balanced garment. She advised that I could alternately create an outfit that combines the methods in a more balanced manner but to still experiment with combining the two methods so see what happens.

We also talked about how I was going to link my future outcomes with my theme of of the Japanese culture. After looking at my research of the folk law tale of the Snow Woman and the different versions I explained that my colour pallet and fabric choices where decided from the one of the version of the tale where the spirt of the snow woman entices travellers to their deaths but spares the some of the young and beautiful. In the the versions of the tale the spirt appears either naked or in a white kimono and from this I want to use white or a pale colour, light weight fabric that is slightly transparent. I want to use a lightweight fabric to represent the flowyness of the snow and a white or pale slightly transparent fabric because of what she is described as wearing/not wearing. 

Sally asked me if I had every read Memoirs of a Geisha by Arthur Golden or seen the film and how I could take elements from the story like the the sale of the main character's (Chiyo Sakamoto) "mizuage" - the coming-of-age ceremony for an apprentice Geisha where wealthy buyers to bid on her virginity so the apprentice could become a full Geisha. 

In the book Chiyo Sakamoto presents prospective bidders ekubo (a sweetened rice cake) to prospective buyer to signify it is her time for mizuage. 

“Mameha went to a confectioner’s shop that same week and ordered on my behalf a kind of sweet-rice cake we call ekubo, which is the Japanese word for dimple. We call them ekubo because they have a dimple in the top with a tiny red circle in the center; some people think they look very suggestive.”


“Please accept these ekubo, Doctor,” I said, and after bowing, placed the package on a side table near his hand.”

Excerpt From: Arthur Golden. “Memoirs of a Geisha.” 

I like the idea of models carrying ekubo on the catwalk or in a photography shoot, wearing my garments because it is a strong link to the Japanese culture.

The details of the mizuage ceremony are not in the film so unless people had read the book or knew about the culture the presence of the rice cake would not be understood but I like the idea of the mystery behind this element.

Thursday, 4 December 2014

Tailored Suit Deconstruction

After a one to one with Jo concerning what universities I want to apply to and what I would like to do we decided that my work should try and incorporate tailoring into what I am doing now because of me applying for Bespoke Tailoring at London College of Fashion.


So at lunch I went around some charity shops in town looking for a cheap tailored jacked to use in my work.

I deconstructed the jacket so I can see all the different aspects and pattern pieces that go in to final jacket. 

Looking at the suit after experimenting with subtraction cutting technique, the two ways to produce garments are very different; one is very structured and planned where as the other if not vigorously documented may never be able to be created again, making it each garment unique. 

I want to try and combine both pattern cutting approaches, either mixing the two ways in a single garment or creating separate garments, each using a different pattern cutting technique for an overall outfit. 


Wednesday, 26 November 2014

Experimentation - Subtraction cutting - The 'Tunnel' Technique


Toady I experimented with two techniques of subtraction cutting demonstrated in Julian Roberts' 'Free Cutting'. 
He calls the two techniques the 'Tunnel' and the 'Plug' techniques.     

The 'Tunnel' Technique


Using any round object to hand (in this case an empty coffee cup) to create the holes to be sewn together internally to create a obscure tunnel for an object, like the body, to travel through. 


The first sample I created I only cut two holes in the fabric keeping the fabric flat and with to twisting it to get my head around how it worked.

In the second sample I 
subtracted more of the fabric and twisted the fabric to see what textures, shapes, the way it drapes

To best demonstrate how the tunnel technique manipulates fabric is with it on a object or body part. This shows how 'subtracting' fabric and sewing the holes together causes a mass of fabric that falls and drapes naturally. By subtracting the fabric in this way you create lots of interlinked layers from one piece of fabric. 

I think small aspects of a garment using this technique, like a sleeve or a collar would give a garment a new edge whereas using this technique in all of a garment might be too over powering for the style of collection I have in mind making the clothing less elegant and I might struggle to reflect my concept  that is still developing through my research.

Tuesday, 25 November 2014

Design Your Future - Manchester UCAS Fair

Today college gave the opportunity to go to the Design Your Future UCAS fair in Manchester for further university research and a chance to speak to the tutors and university representatives.

While at the fair I had another chance to speak to representatives from UAL about the BA (Hons) Bespoke Tailoring course and how to produce a portfolio that would give me the best chance of entry into the course. I was told that hey want to see the creative journey from the initial inspiration and starting point to final outcomes. I was also told that knowing how to sew isn't directly needed because they will teach all the techniques on the course but it is helpful to know before hand and having evidence in my portfolio wouldn't hurt.

I also spoke to the Ravensbourne tutor who teaches the BA (Hons) Fashion Design course. I liked the idea of the course because it was open design course meaning that I didnt have to pick menswear or womenswear before beginning the course. However after speaking to the tutor I have decided that I will no longer apply to the course because of the way she spoke to me and about her students. The tutor seems a little demeaning and I don't think I would be inspired to do my work studying with her. 

Southampton Solent also had a stand at the event and I went to speak to them because last year I applied and received a place on the BA (Hons) Fashion Styling but after consideration I declined the course because no part of the course gave me the opportunity to produce my own clothing. I wanted to know how if I would be able to apply to the university again after declining my place for styling and apply for design which I was told was fine but not to give up on Fashion Styling and to do more research into it to see how the course had changed but she was not able to talk to me about fashion design because she didn't know much about the course. 

Lastly I spoke to De Montfort University about their BA (Hons) Fashion Contour course to the tutor who teaches on the course. She explained to me all the expects of the course I would learn; research and development, how to produce the final outcomes, fabric and material knowledge. After speaking to the course leader the course seems very in-depth and readies their students for the industry however the down side of the course to me was that fact that it is not in London so it doesn't have the same strong industry links and no opportunity is given to actually work in the industry like a gap year or placement year. 

Friday, 21 November 2014

London College of Fashion (LCF) Craft Cluster day


Today some of the fashion pathway, who are planning to applying to UAL, were given the opportunity to attended a cluster day at LCF John Prince's Street in London. We met the course leaders and were given a presentation on three courses; BA (Hons) Bespoke Tailoring, BA (Hons) Cordwainers Fashion Bags and Accessories: Product Design and Innovation and BA (Hons) Cordwainers Footwear; Product Design and Innovation.  


The talk about Bespoke Tailoring inspired me the most given by of Darla Gilroy, the programme director for the three course presented, on behalf of Jacqueline Sealy as Jacqueline had lost her voice and could only communicate through typing messages. 


The programme is highly specialist teaching students the handcraft tailoring techniques along with other skills such as design, pattern drafting, research methods and presentation skills.


Bespoke tailoring is clothing made to the individual buyer's specification and traditionally the customer is a man however this course also teaches the skill and techniques for womenswear tailoring which starting to develop a considerable amount of attention. 


Bespoke Tailoring caught my attention the most because it is very hands on course, the traditionality of the skills taught and the fact that the course is an 'open design' course meaning that I am not constrained to either menswear or womenswear.

Tuesday, 11 November 2014

Task Three - Research - The Falklore Tale of Yuki-onna (Snow Woman)


After my one to one assessment feed back I've been researching into Japanese traditional folk law tales to draw inspiration for my work from different aspects of the culture then just fashion designers. 

I've come across a tale about the Snow Woman (Yuki-onna). In this version of the tale, Yuki-onna is a sprit of a woman who died in the yearly snow storms in northern province of Echigo. 


Yuki-onna appears in Kyuzaemon's (a lonely farmer who's family had passed away) home in the early hours of the morning after asking to be let in and denied. Kyuzaemon realises that the woman is a spirit and becomes very fearful. The sprit explains that she is travelling through the snow to the next village but the wind is against her and needs somewhere to rest before travelling on further. In the morning she is gone and have moved to the next village to haunt the man she was married to before perusing in the snow for leaving her family.

However after further research it there are many revisions of the snow woman tale, most say she encourages travellers in the storms to their deaths but spearing some of the young and beautiful. Some carry on the story saying that when the young and beautiful have grown up she appears again to them and they fall in love.

Some revsions of the tales say that she wears a white kimono, while some say she appears naked in the snow with the palest skin with long jet black hair.

After reading through Richard Gordon Smith's adaptation of the tale and more traditional renditions of the fable the main ideas of the story have given me ideas for my work, such as colour scheme. I could keep my colour scheme very pale, mostly white but maybe with a hint of colour like snow obscuring objects in the distance. 

If I decided to document my final outcomes through a fashion film or a photography shoot I could use the setting of the legend as the scene and backdrop hopefully influencing the viewers interpretation.

Tuesday, 4 November 2014

One To One Assessment Feedback

Today the group has the first one to one assessments regarding our work we have produced so far on the course. Each student has been set targets to improve their work on their blogs and practical work. Our tutors also commented on our attitude towards college.

I was told that I have a good attitude and show a great interest in my chosen subject but I need to be more driven in my work to get my desired place in one of the top London universities.

In my assessment it was expressed that I am not clear enough in my blog with explaining what I have done, how I have done it and personally evaluating my work in a critical manner - what went wrong, what was successful, how well I feel I have done and how I could improve it. 

I was also advised that I should show images of my work in the process of making my practical work to meet my target of clearly showing the production and development.

When looking at my research my tutors said I had a good amount of secondary research of designers influence but the Japanese culture but advised me to look at different areas of research such as food, architecture, art and other aspects of the culture. I also need to gather more primary research to influence my work. 

Targets

1. Make sure you reflect upon the work you have completed - How well you feel you have done the task - What you feel you could do better.
2. You need to include Artist/Designer research for each round about.
3.Clearly label all irk on blog.
4. More primary research - Photos/drawings etc. 


Thursday, 30 October 2014

Task Three - Development - Pattern Idea - Process of Making


Today I started on the idea I proposed for the fabric pattern.

I  have scanned in part of the textiles origami inspired sample and using Adobe Illustrator I've started to trace the lines for the pattern that will create the boarders for the windows of pattern to be seen through. 

I've been using the pen tool to draw the lines to get the initial boarders however once I have finished drawing the rest I need to go back and edit the shapes. 

At the moment the boarders look too sharp and heavily structured and I'd prefer them to be more softer and more natural like in the original sample . 

Wednesday, 29 October 2014

Task Two - Research - Free Cutting by Julian Roberts


While on Pinterest I came across an image of way of pattern cutting manipulation called Subtraction Cutting. 

This is a class taught by Julian Roberts a renowed fashion designer and film maker who has show in London Fashion Week several times and the five time winner of the British Fashion Council's New Generation Award. 

Many garments are created by flat (traditional) pattern cutting methods or draping fabric over a mannequin.

Substraction Cutting is a method where a hollow construction is developed into the pattern that uses the negative spaces in patterns, turning the usual garment style to a combination of traditional pattern construction and draping producing unique shapes and styles.


After further research into this technique, I can see a link between this method and my theme of Traditional Japan. The draping in the garments produced could represent the folds seen in the art form of origami. 

I intend to experiment with this technique after finding this guide produced by Julian Roberts:
http://www.mediafire.com/view/10d8kgbkp1yxc88/FREE-CUTTING-Julian-Roberts.pdf

The guide gives a introduction to the technique and explains how the method works and how to apply it to your own work.

I think subtraction cutting would give my work a new edge that I could link to my theme making my work more successful then using the traditional method of pattern cutting or draping. 


Tuesday, 28 October 2014

Task Three - Development - Pattern Idea Proposal

After creating my pervious two illustrations I have had the idea of developing a fabric print using a origami influenced sample and a piece of work I produced in the Fine Art way.


I could combine the textured origami sample and the Gerhard Richter inspired reworked photograph. Using inspiration gained from John Stezaker's work I plan to have parts of the pattern showing through the 'windows' created in the textured fabric sample.

Hopefully the pattern will be obscured by the lines of the folds in the fabric showing a link to how a pattern would be obscured by the folds in origami, for example a traditional Japanese handheld fan when partially closed.

Thursday, 23 October 2014

Task Three - Development - Fashion Illustrations

After my group critique this morning I created these two designs on Illustrator to reflect the feed back  was given. I have use the advise of changing the colour pallet and structure of garment to be be more flawy were the pleats and fold fall naturally. 

In these two design I have taken inspiration from the designers Yohji Yamamoto and Issey Miyake and their work that I have pinned on my Japanese Inspiration Pinterest board. 

The pattern element for these designs came from a photograph I worked on previously in the Fine Art roundabout. 
I have left some of the illustration without pattern to shown the layering of the garments. However I really like the patchiness of the pattern adds aestheticly pleasing element to the designs. 

Group Critique


Today I put forward the the origami cape I produced a few weeks ago in the group crit. 


In the group critiques I was advise to change the colours because pallet reminded some of the group of Halloween. They advised I change the black to white or a softer colour to give a softer effect that would still represent and adhere to the Japanese theme. 

A comment was also made about the two contrasting ways the fabric fell; the flow of the cape compared to the structured folding piece on the back. The thoughts from the group was that the contrasting combination of the drape of the fabric didn't work. 
The group proposed that the folds in the cape were more subtle and more flattering to the body then the bolder crisp lines in the folded fabric. 

The class expressed my own realisation of the fabric choice saying for the folded element of the experimental garment was too thick and a lighter weight fabric would have worked better. 

As I carry on my development I think I will use the advise for creating folds in softer way by the drape of fabric rather then the structured approach and change the black for a more feminine colour. 

Tuesday, 21 October 2014

Roundabouts - Fine Art - Photos


Today I caught up with the Fine Art pathway where we tasked with appropriating, manipulate and alter 'found' images. We could do this by obscuring the photographs with paint or collaging them together to create new combined images.

Before we started editing the photos we look at the works of Gerhard Richter, Robert Rauschenberg (who both edited found images using paint and mixed media techniques) and John Stezaker (conceptual artist who combined images to create new).

These are just a few of the photographs I edited inspired by the artists using the medias of paint and varnish and collage. 

 I admire the the way the varnish and the paint have reacted with each other on the photographs to create textures and patterns. 

I think I will experiment with the first image shown to create a pattern for a fabric because the printed textures and pattern would transpire well onto the fabric. 
The colour pallet I have used have a Autumn ambiance that would suit a winter/fall fashion collection.


Tuesday, 14 October 2014

Roundabouts - Textiles and Fashion - Manutex Printing


In the forth roundabout session we attended the option Textiles and Fashion. In this session we experimented with mark marking in the form of manutex printing; a form of pattern printing that can only be printed once, unlike most printing making.


When manutex printing you draw your chosen image or pattern onto the silkscreen and pull it through the screen using a print paste on to material. 


Rather then print onto cartridge paper I experimented with appropriating fashion magazine images. This wasn't very successful because the paper had been printed on previously meaning that the ink didn't soak in. 


Friday, 10 October 2014

Task Three - Development - Textures


In my sketchbook I've been experimenting with stitching in place the folds in fabrics seen in the art of origami. 


To develop the idea further I attempted to stitch the folds in a less precise manner to create a different texture. 


I then cultivated the idea to create a larger piece of fabric using the same technique for a sample garment to see how the distorted fabric effects the drape and fall when on.


Thursday, 9 October 2014

Task 2 - Development - Fabric Folding Idea


In my sketch book I have started to visually communicate and develop the idea of using the folds seen in origami into potential garment ideas.


I have taken one of the pages in my sketchbook and attempted to create similar lines observed in the folds of the paper by sewing the pleats fabric.


For the colour scheme of the fabric I have used I used the vivid red that is apparent throughout the Japanese culture with the Black to make it stand out.   


I selected to make the garment  a cape because of the simplicity and quickness of production of the garment and as a canvas for the structured piece of fabric. 

When choosing my fabric I just chose the two fabrics i used I selected fabric made same fibres with a similar weave so they would have similar characteristics and fall in the same way. The fabrics I chose were too thick for the folds meaning that the machine struggled to sew some of the folds into place. 

If I was to create something like this again I would have to change my choice of fabric for a thinner fabric that the machine could handle and maybe stiffen it to get the crisp clean lines desired.   


Wednesday, 8 October 2014

Task Three - Development - Sketchbook


I've started to develop my theme of origami in a visual sketch book by collaging appropriating fashion images.
In my sketchbook I've tried to demonstrate how my ideas are evolving in how  origami could be used for garments in a range of materials like different fabrics, paper and woven metals. 


I've tried to make my sketchbook textual with a specific strong visual theme running throughout. I think I need to start being more experimental in my work to develop a stronger outcome. As well as folding I want to explore how materials bend and how they flow and move. 


Tuesday, 7 October 2014

Roundabouts - 3D - Wire Structures

This morning we spent some time creating wire structures and drawings using the the spot wielding machine. The outcome of the task was to reproduce a drawing of a primary photographs, objects or drawings.


I selected the paper origami dress I constructed in a past exercise for my inspiration. Looking at a small area of the front bodice I experimented in reproduce the folds into 2D wire drawing. 


To develop the wire drawing example further I created a collage using the sample to loosely show the idea of how wire could be used as a garment material.


Tuesday, 30 September 2014

Roundabouts - Photography - Light Painting

This afternoon the group were given the task to create a selection of photography images expiring the technique of painting with light. 

After the group session the photos were sadly lost. 

However, last year I completed the UAL Diploma in Photography as a night course where were experimented with this technique so I am able to show past work I have produced. 


For the first image I experimented with the a static light and a moving model to create an abstract laying effect that gave the image a eerie, sinister aesthetic. 


In the second image I have use a traditional technique where the light source moves rather the the model. However I used a additional light source to cast a shadow on the face to add to the atheistic. 

Roundabouts - Media - Scratch Film


This morning we started the roundabouts where we try each examples of work that can be made in each different pathway.


This morning we began with the Media pathway, where we created a scratch film.

The group were shown examples of scratch films from the early to mid 20th century such as:

Stan Brakhage's Mothlight 

Len Lye's Kaleidoscope 

After viewing the films we were tasked with making our own version. Each person in the group were given four seconds worth of 16mm film.

For my four seconds I worked straight onto the film using permanent markers in a imprecise manner to give a contrast to the more structured seconds that my piers created.